
So I did what I do best... I messed around with some techniques and stitches until I found something that works.
Introducing: Picot Poinsettia!

oh look! it's me again!
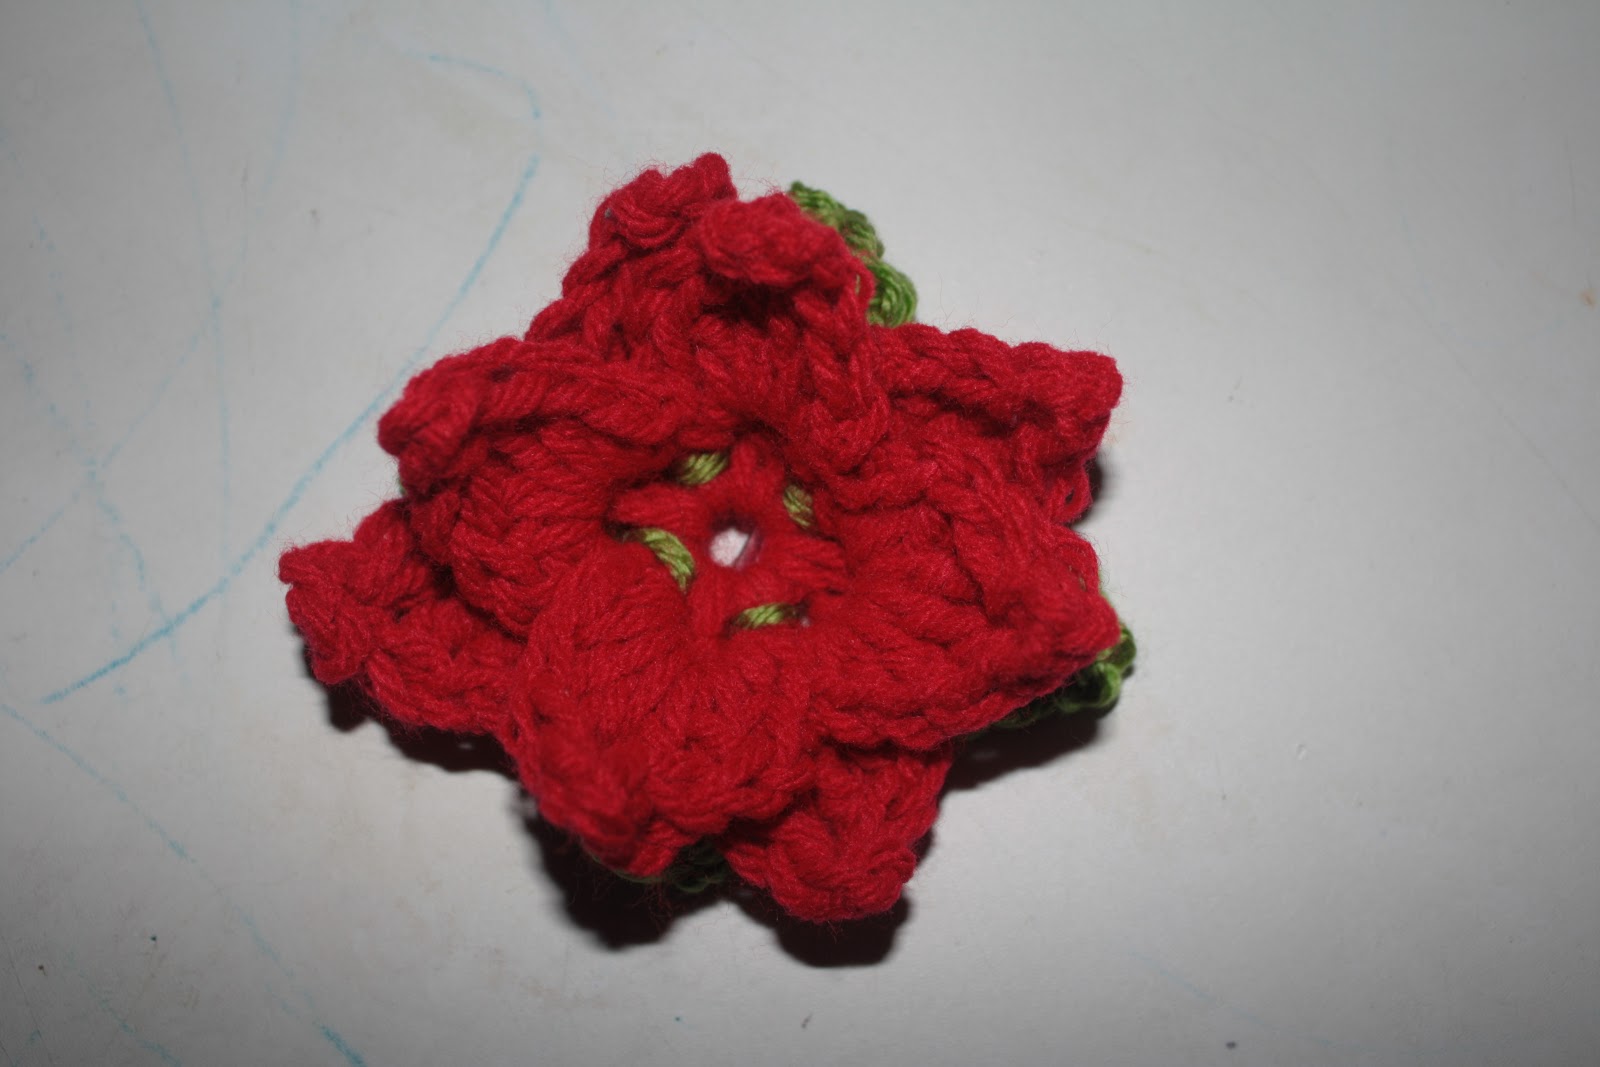
top down view
I found a five pointed picot flower pattern on Ravelry a while back, and I make those things like mad. They are so easy to do, and they work up fast. So I decided to apply that technique to a four petal design, and see what I could come up with. I must say, I am rather pleased with the results.
This is my pattern.
I used a "k" hook and worsted weight yarn.
You will need two colors, Your main color, and green. If you want a realistic looking poinsettia, use red, white, or cream with your green.
To picot: ch 3 then sl st to first st of that chain
- Ch 4. Sl St tog to make a ring ★ Sc once in the ring, ch 3. Repeat from ★ three times to make 4 loops. Sl st to first st
- ☆Petal☆ Sc in first ch3 loop. hdc, dc, tr, picot, tr, dc, hdc, sc Repeat for all loops, sl st to first st.
- Turn flower over and ★ insert hook front to back and sc in center loop, ch 3. Repeat from ★ three times to make 4 loops.
- ☆Petal☆ Sc in first ch3 loop. hdc, dc, tr, picot, tr, dc, hdc, sc Repeat for all loops, sl st to first st. Finish off, and weave in
- With green yarn, attach a loop to the back of the poinsettia. ★ sc in the bar between petals (see top down pic for regerence). Ch 3. Repeat from ★ three more times to make 4 loops, sl st to first st
- ☆Petal☆ Sc in first ch3 loop. hdc, dc, tr, picot, tr, dc, hdc, sc Repeat for all loops, sl st to first st. Finish off, and weave in.
To form your poinsettia, press the center down on a flat surface and gently tug up on each petal and leaf.
To make it a bobby, just slip a bobby pin through a couple loops of yarn in the back. No sewing necessary.
And there you have it! I hope you enjoy making this lovely flower.
Peace,

No comments:
Post a Comment